 · CEO, D. Gira
True peak and digital clipping: how to avoid them in your master
Your DAW says the maximum peak is -0.1 dBFS. No red light. Then you upload the track and some passages sound slightly distorted. The culprit has a name: true peak.
Sample peak and true peak
A digital file is a sequence of samples. The sample peak is the highest of those values. But the analogue signal that gets reconstructed also travels between samples, and there it can rise above both neighbours.
True peak estimates that value: you oversample the signal (for example 4 times the original rate) and look for the peak on the reconstructed waveform. It can be a few tenths of a dB higher than the sample peak, and go over zero.
Why it matters when you release
Platforms convert your file to compressed formats (MP3, AAC, Ogg). Conversion slightly changes the waveform: a true peak already close to 0 dBTP ends up above zero and distorts, even if the original file sounded clean.
The common rule of thumb: keep true peak at -1 dBTP or lower, lower still if the master is very loud.
Digital clipping: the sign that something cut the wave
Clipping is different: samples stuck at full scale, one after another. A single sample at maximum can happen; three or more in a row mean a limiter, a plugin or a conversion cut the waveform instead of lowering it.
How MakerMusic measures it
In the Analyze your song lab you get both:
- True peak, calculated by oversampling the track up to 4 times (192 kHz max), like a real meter.
- Clipping: the number of runs of at least three consecutive full-scale samples.
Next to them: integrated LUFS, loudness range and leading/trailing silence — everything you need to decide whether the master is ready.
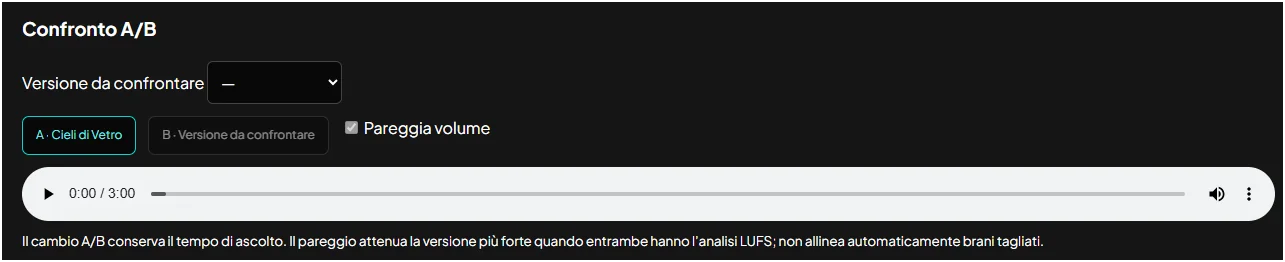
If you need to fix it, lower the level, save a new version and compare it A/B with the original at matched loudness.
In short
- Sample peak is not enough: between samples the signal can go over zero.
- True peak is measured by oversampling; keep it at -1 dBTP or lower.
- Three full-scale samples in a row are clipping.
- In MakerMusic you see both in Analyze your song.